Cheeky Beauty nail image plate review~
Posted on Thursday, October 11, 2012
|
2 Comments
I have a massive blog post for you guys today. I am doing a review on the Summer 2012 Cheeky Beauty image plates, then I'll have a few pictures of some designs I did, and finally I have a tutorial on how to use the image plates.
So first up is the packaging. You get a cardboard box that is about 1.5 inches thick and it holds your image plates.


I think that Cheeky Beauty did a very good job with the packaging. A lot of times I get image plates but I don't know how or where to store them. With this set, I can keep the in the box and always know where the plates are.
There are also instructions on the back of the box

When you open up the box it looks like this:

Image plates on one side, a story on the other side

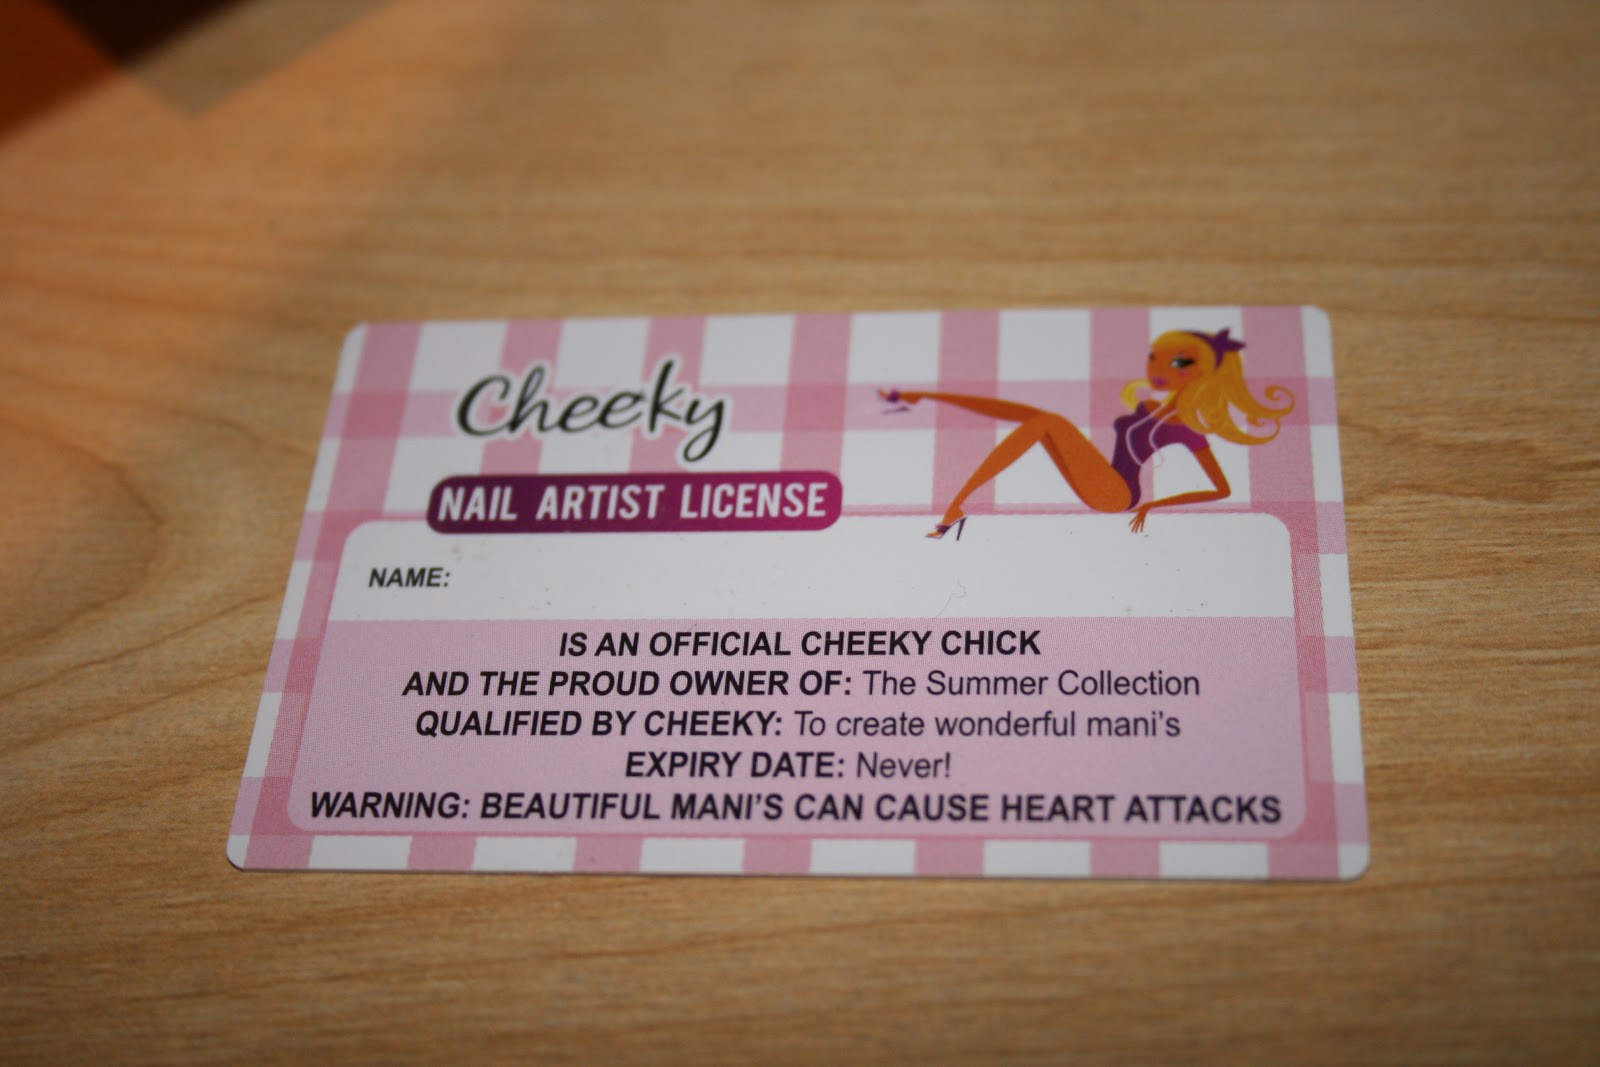
The box also comes with a "Nail artist license" Id card. What I like about this card is that it says that you can also use this card as a scraper for your images plates :) ***Note I will go into what a scraper is later in this post.

This is what a plates looks like up close:
The plate has a nice plastic pink/white backing so it prevents you from getting cut from the sharp image plate edge
Another thing that is fantastic about the image plates is that they have full size nail designs that are much larger similiar image plates by other companies. Before I could barely get a full image on my nail because the full images were too small, but with the cheeky plates I can cover my entire nail with the nail image.

All in all, this is what the set looks like:

Now here are some designs that I did using the stamping plates:
The first one I did these for a fall wedding I attended. I wanted some subtle stamping.


Next I saw a really fun nautical nail design online (I have forgotten who did them, if it is your design please let me know) that I recreated:


Lastly I did some fun swirls with different colors:


How does one stamp their nails?
well, first things first. You need to peel off the blue film on the image plate.


Now collect your tools:
1. Image plate
2. Scraper
3. Stamper
4. Nail polish that is going to be used for stamping

1. The first thing you do is apply the polish on the image you want. I just blob it on. You don't need to cover the entire image with nail polish, covering about half the image is good.

2. Using your scraper (here I am using the provided Nail artist license Id card) scrap the nail polish off the plate. Remember that only half of the image is covered in nail polish, you want to cover the entire image with nail polish so you scrape it in the direction of the image that has no nail polish. So in this example, I only put nail polish on the left side of the image so I would scrape from left to right to make sure the right side of the image gets polish. Hold the card firmly and pull across the image plate.

3. You take your rubber stamper and roll it over the image that has been scraped. Because the image plate is engraved you will never be able to scrape off all the nail polish. I have taken some pictures of the rolling in action.


4. When you pick up the stamp it looks like this:

5. All you have to do next is roll the image on to you nail. You roll the same way as you did when you picked up the image with the stamp. And then voila! you get image.


i thought it was a blush on the preview photo. hehehe. my favorite is the nautical design. thank you for sharing!
ReplyDeletewohoo..lovely.. and the packaging is great as mentioned.. what are the stamping polish u used here? could u share please? i am rellay fond of them!!
ReplyDelete